
EricThornton.net - Brick Oven Construction Page
Jeff Tantleff (shown above) agreed to come in and help; doing the toughest part - forming the arch of the oven's mouth and the support structure for the chimney.
At this point, the food cavity is now complete and ready for concrete cladding so there is enough mass to hold heat properly and create a consistent, even temperature which can be maintained inside the food cavity.
This might not look pretty - but it is critical to the structure of the oven.
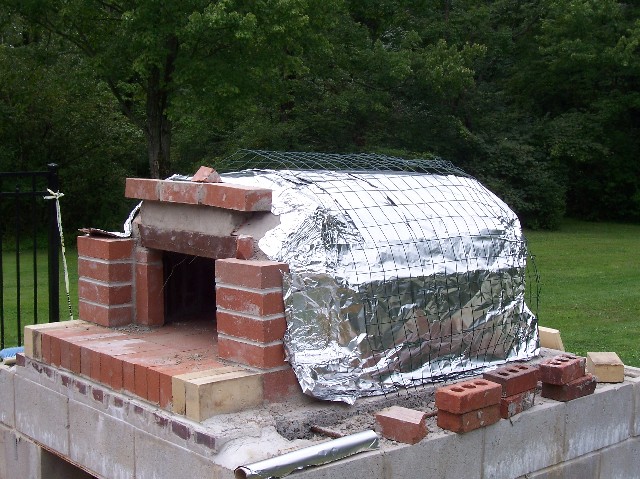
Now the firebricks that make up the food cavity are wrapped in heavy duty aluminum foil so the bricks and concrete cladding can "slip" when the oven heats up, hopefully preventing cracking of the outside facework when the oven is heated.
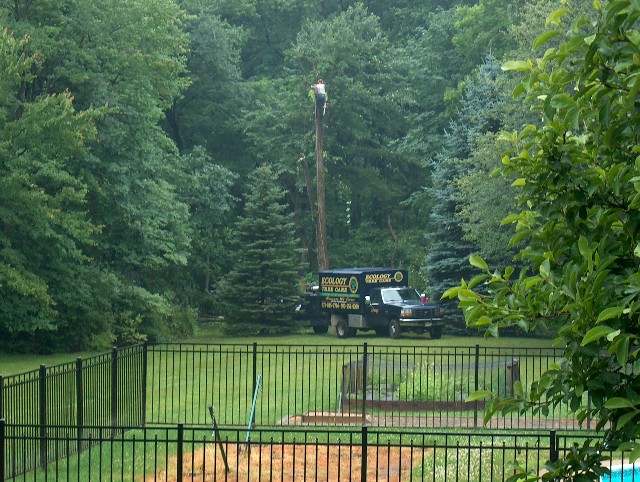
The first step is to locate where the oven will be placed. In this case, I am relocating an old stone fireplace that was much too close to the treeline and posed a fire hazard. Locating the grill by the pool seems like a good idea and I can get help from the tree trimming guys in pulling out two sections of the pool fence.
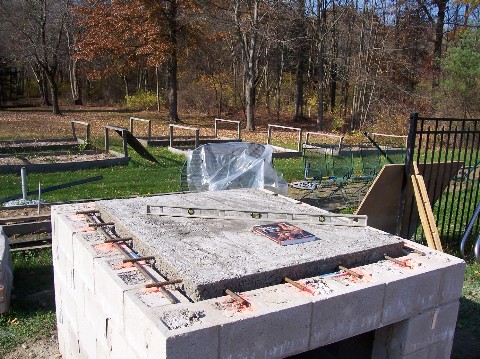
The base and floating hearth are now in place. The hearth was poured on top of forms supporting its bottom while it dried. After is cured, the supports and floor were removed from beneath. A one-inch gap needs to be maintained between the hearth and the block wall so that the foundation doesn't crack when the hearth heats up and expands.
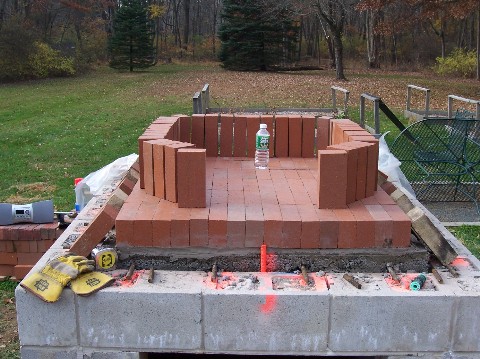
The bricks for the walls are dry fitted and any last minute adustments are made.
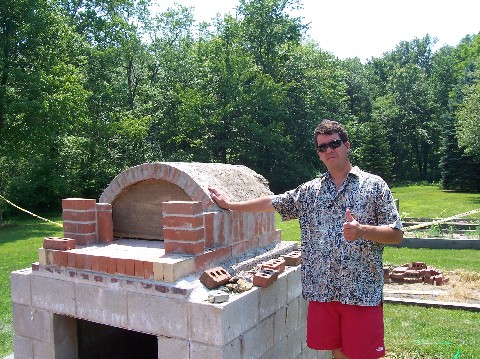
The inner dome that will become the food cavity is now complete. When the oven is complete, this brickwork will never be seen.

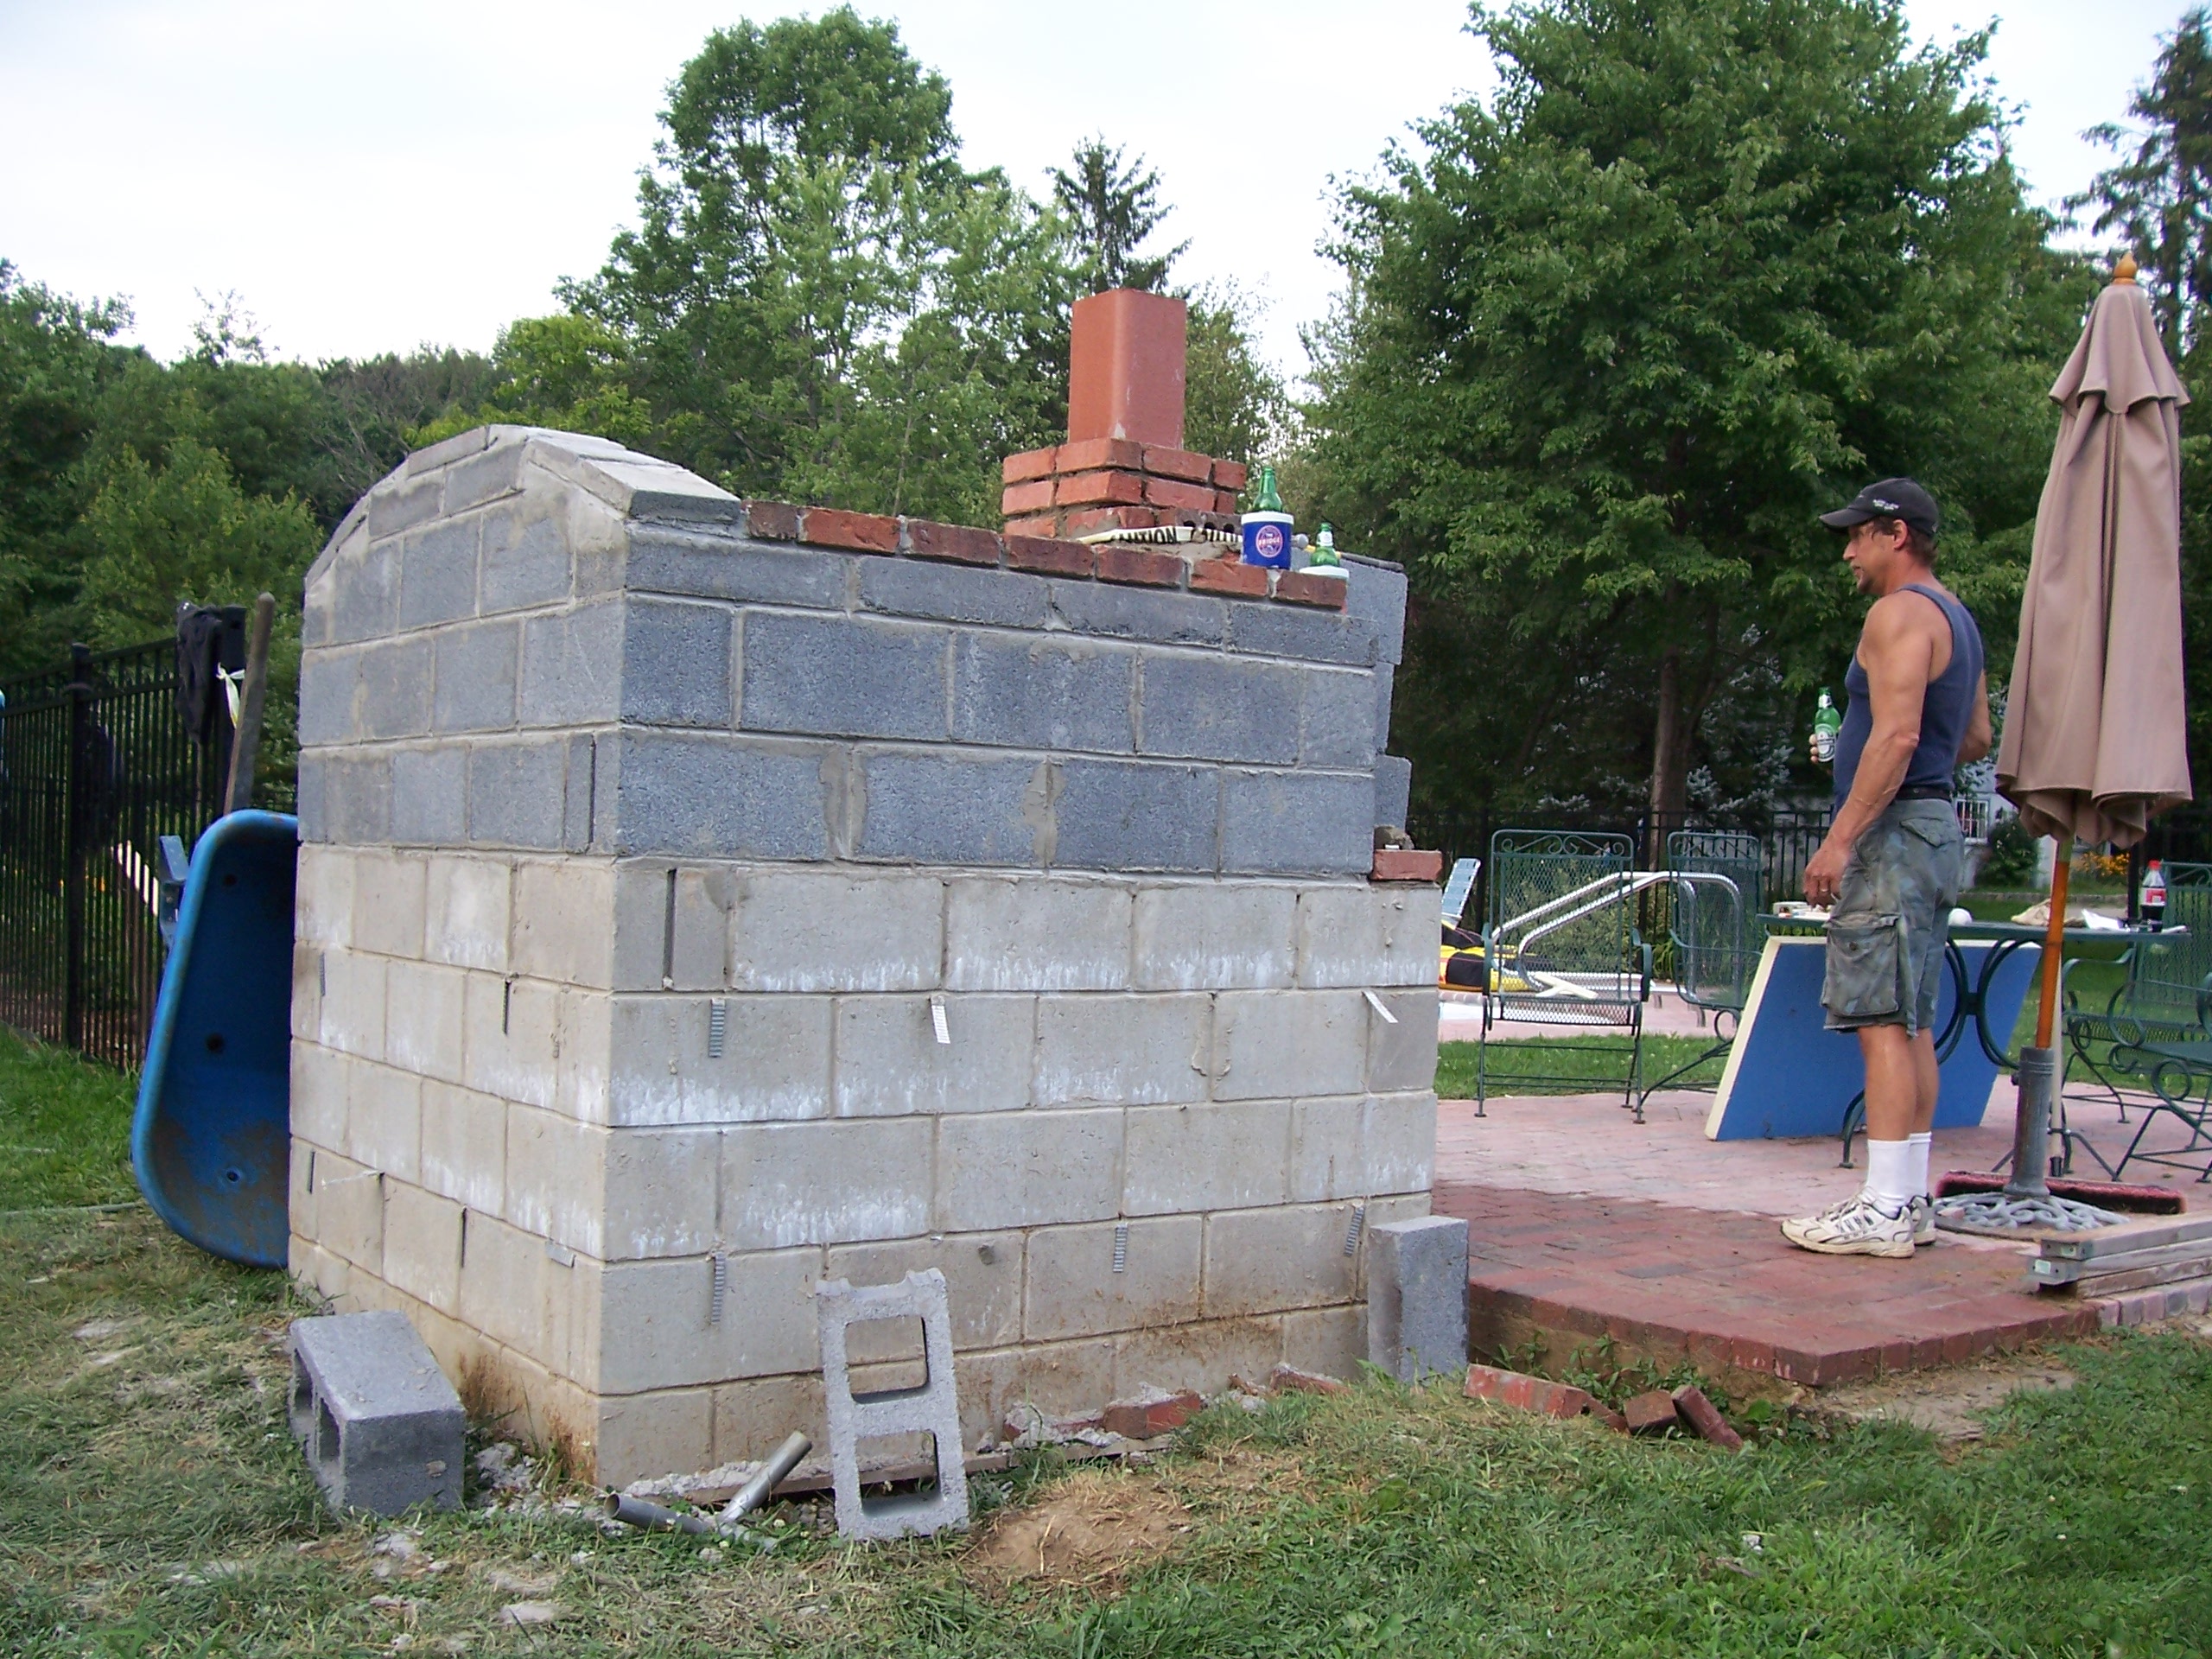
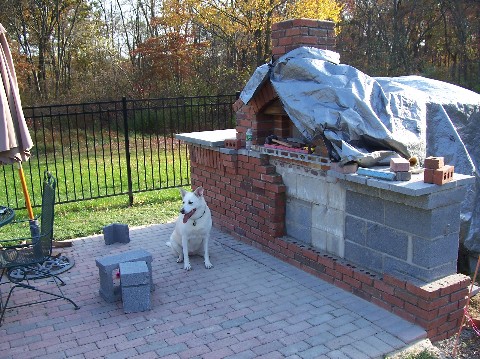
Sunday, August 20th, the outside walls are at finish height.
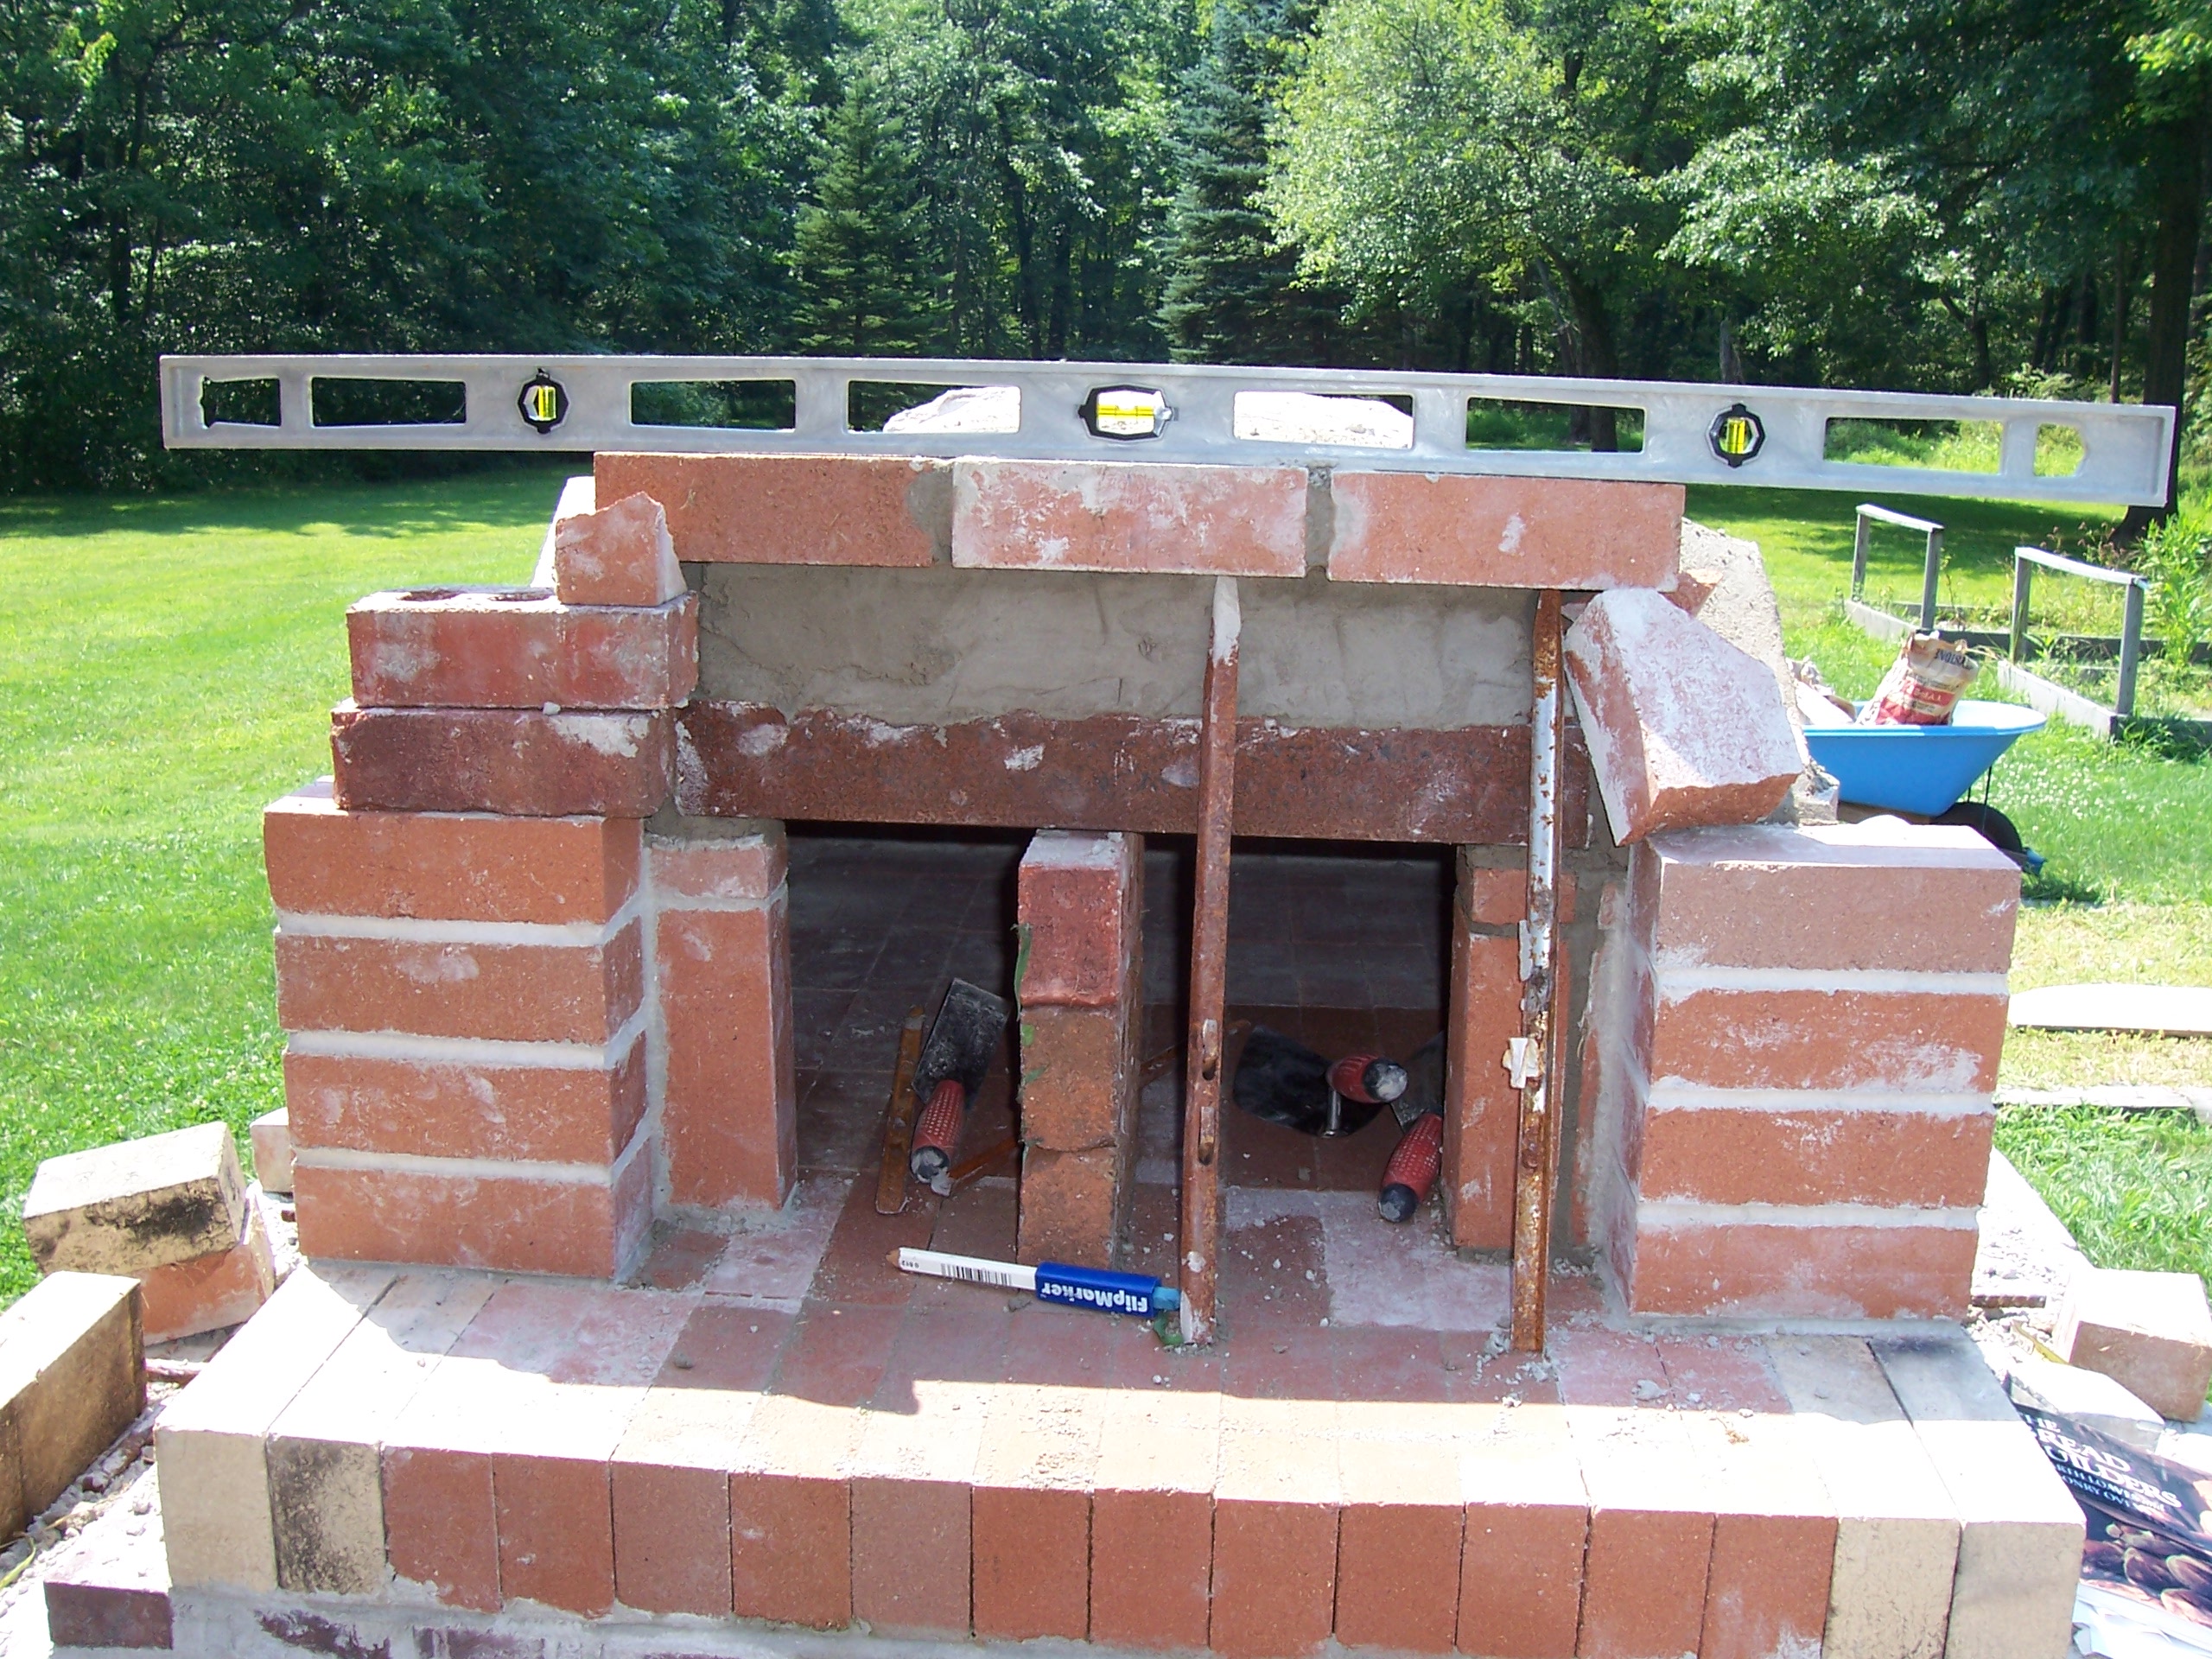
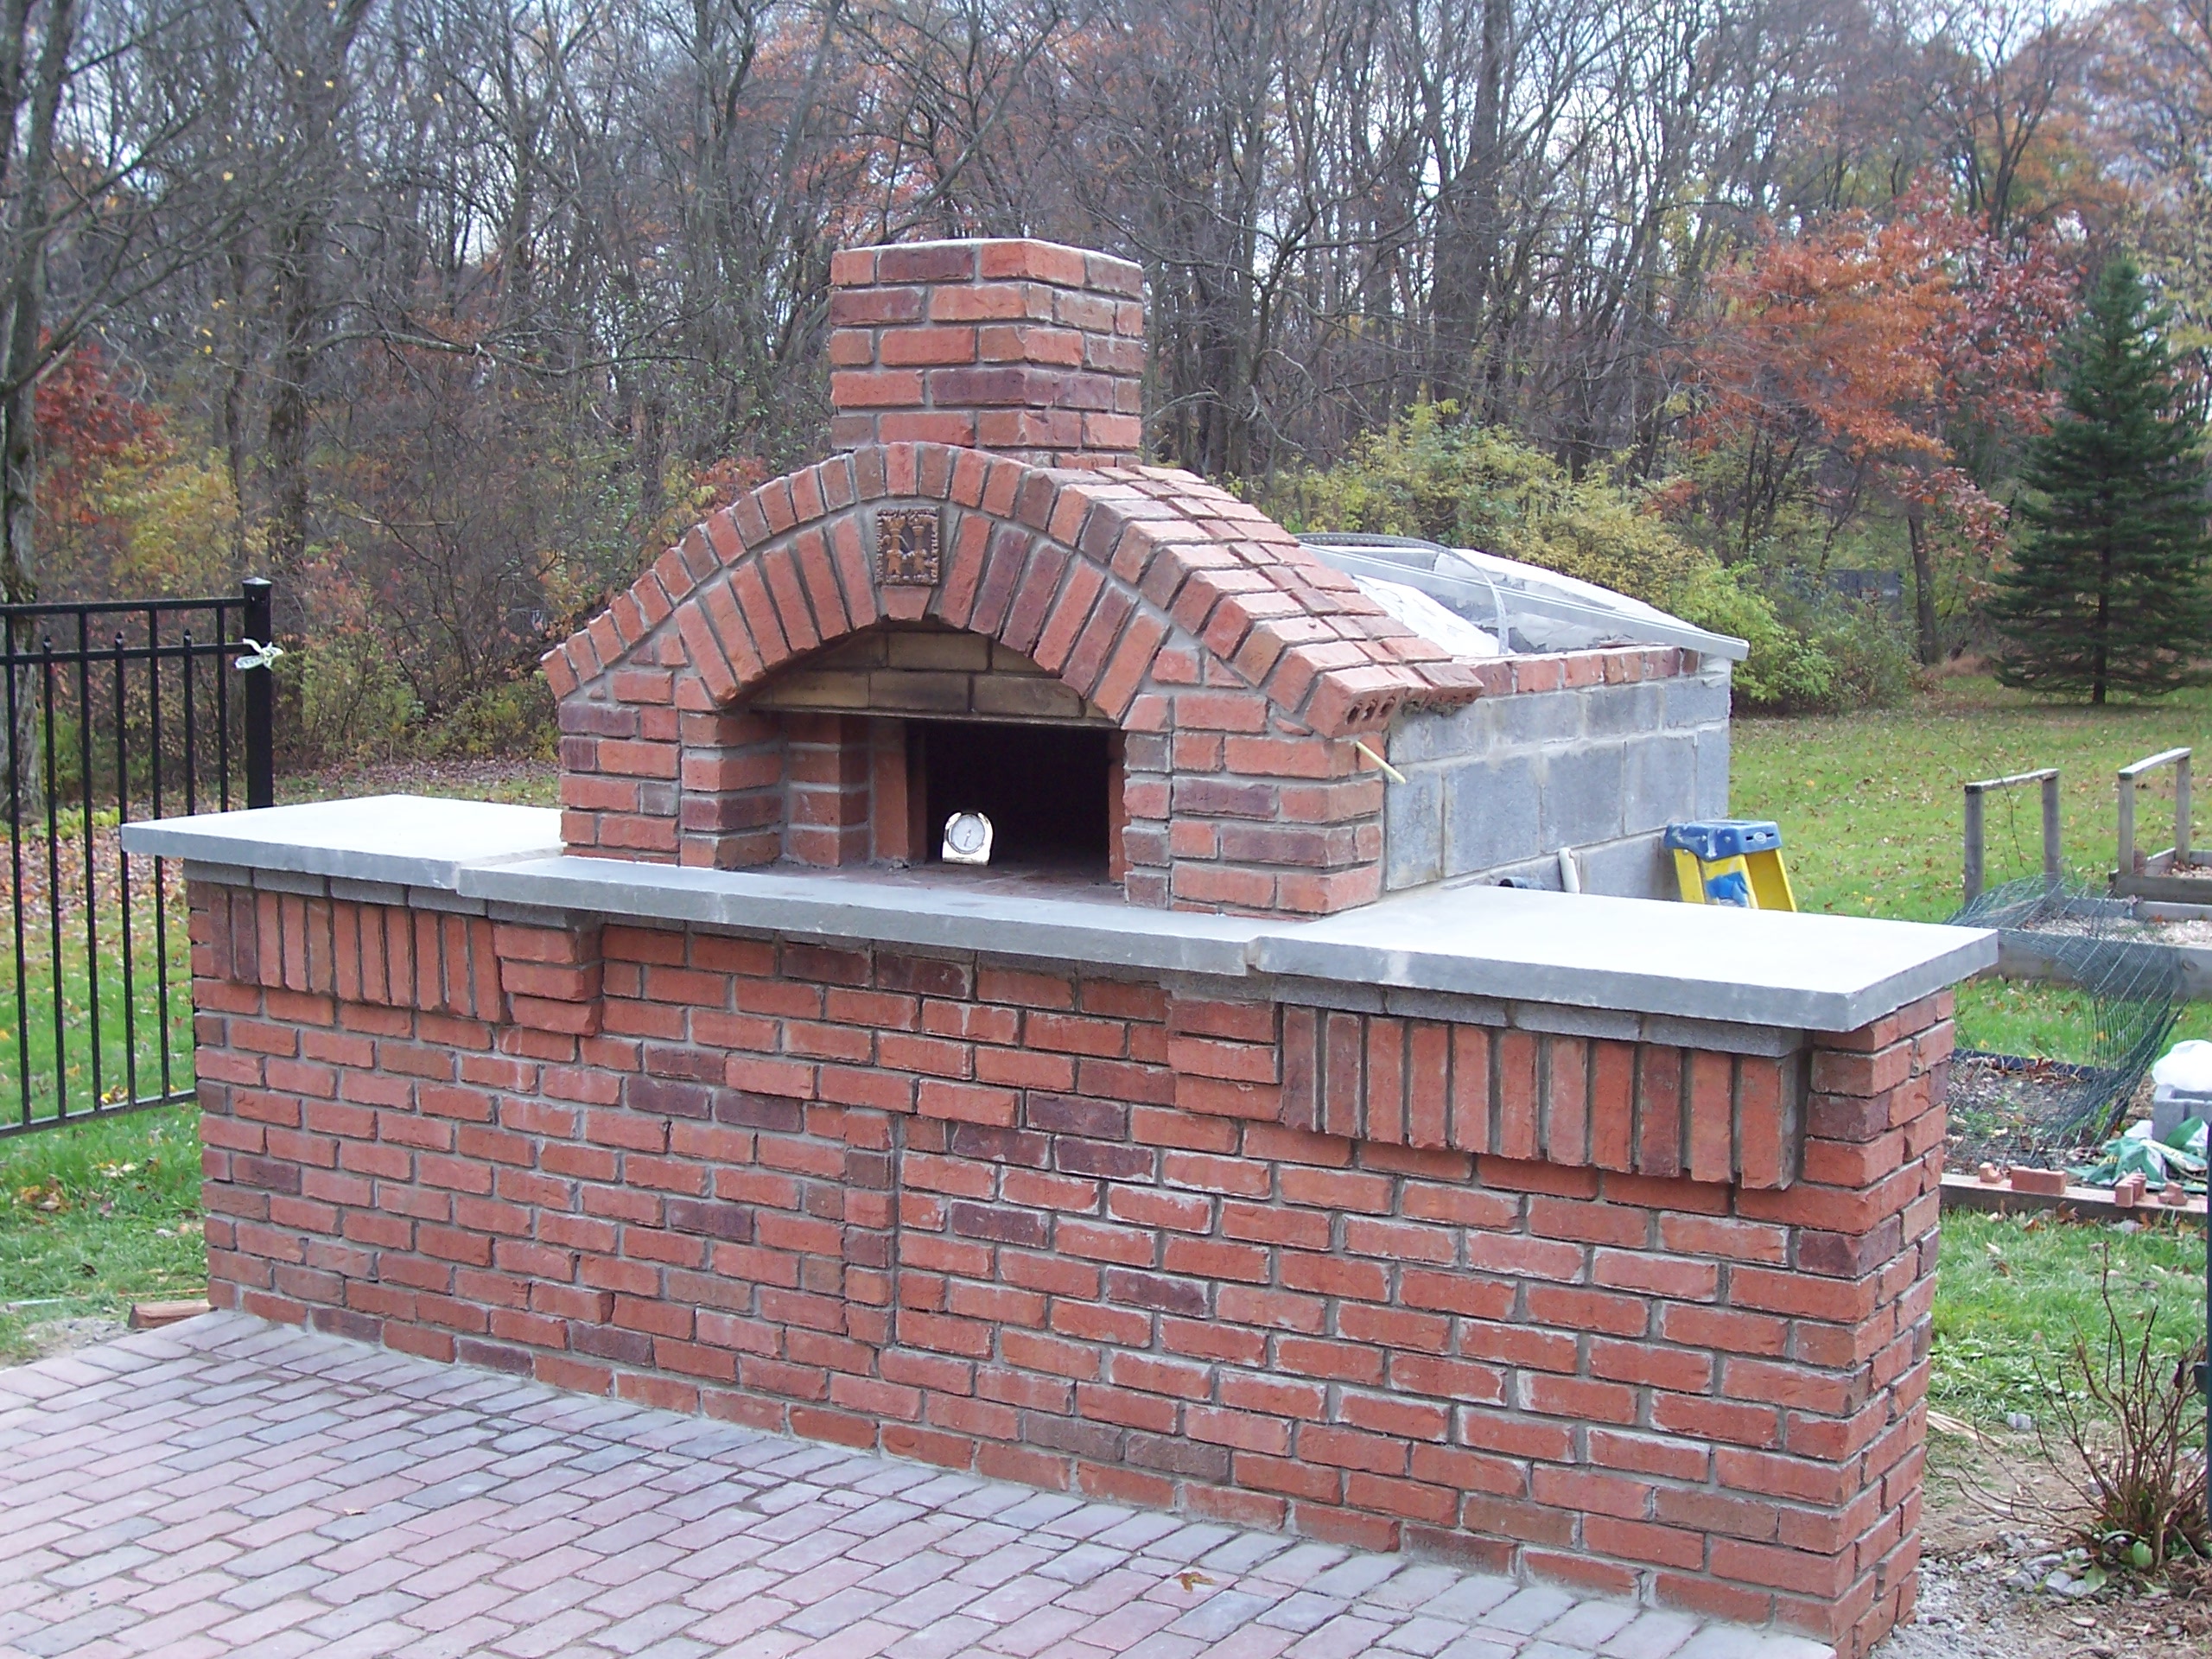
As part of the keystone for the lower arch of what will be the oven's mouth, a Moravian Pottery & Tile Works 100th anniversary commemorative tile is added.
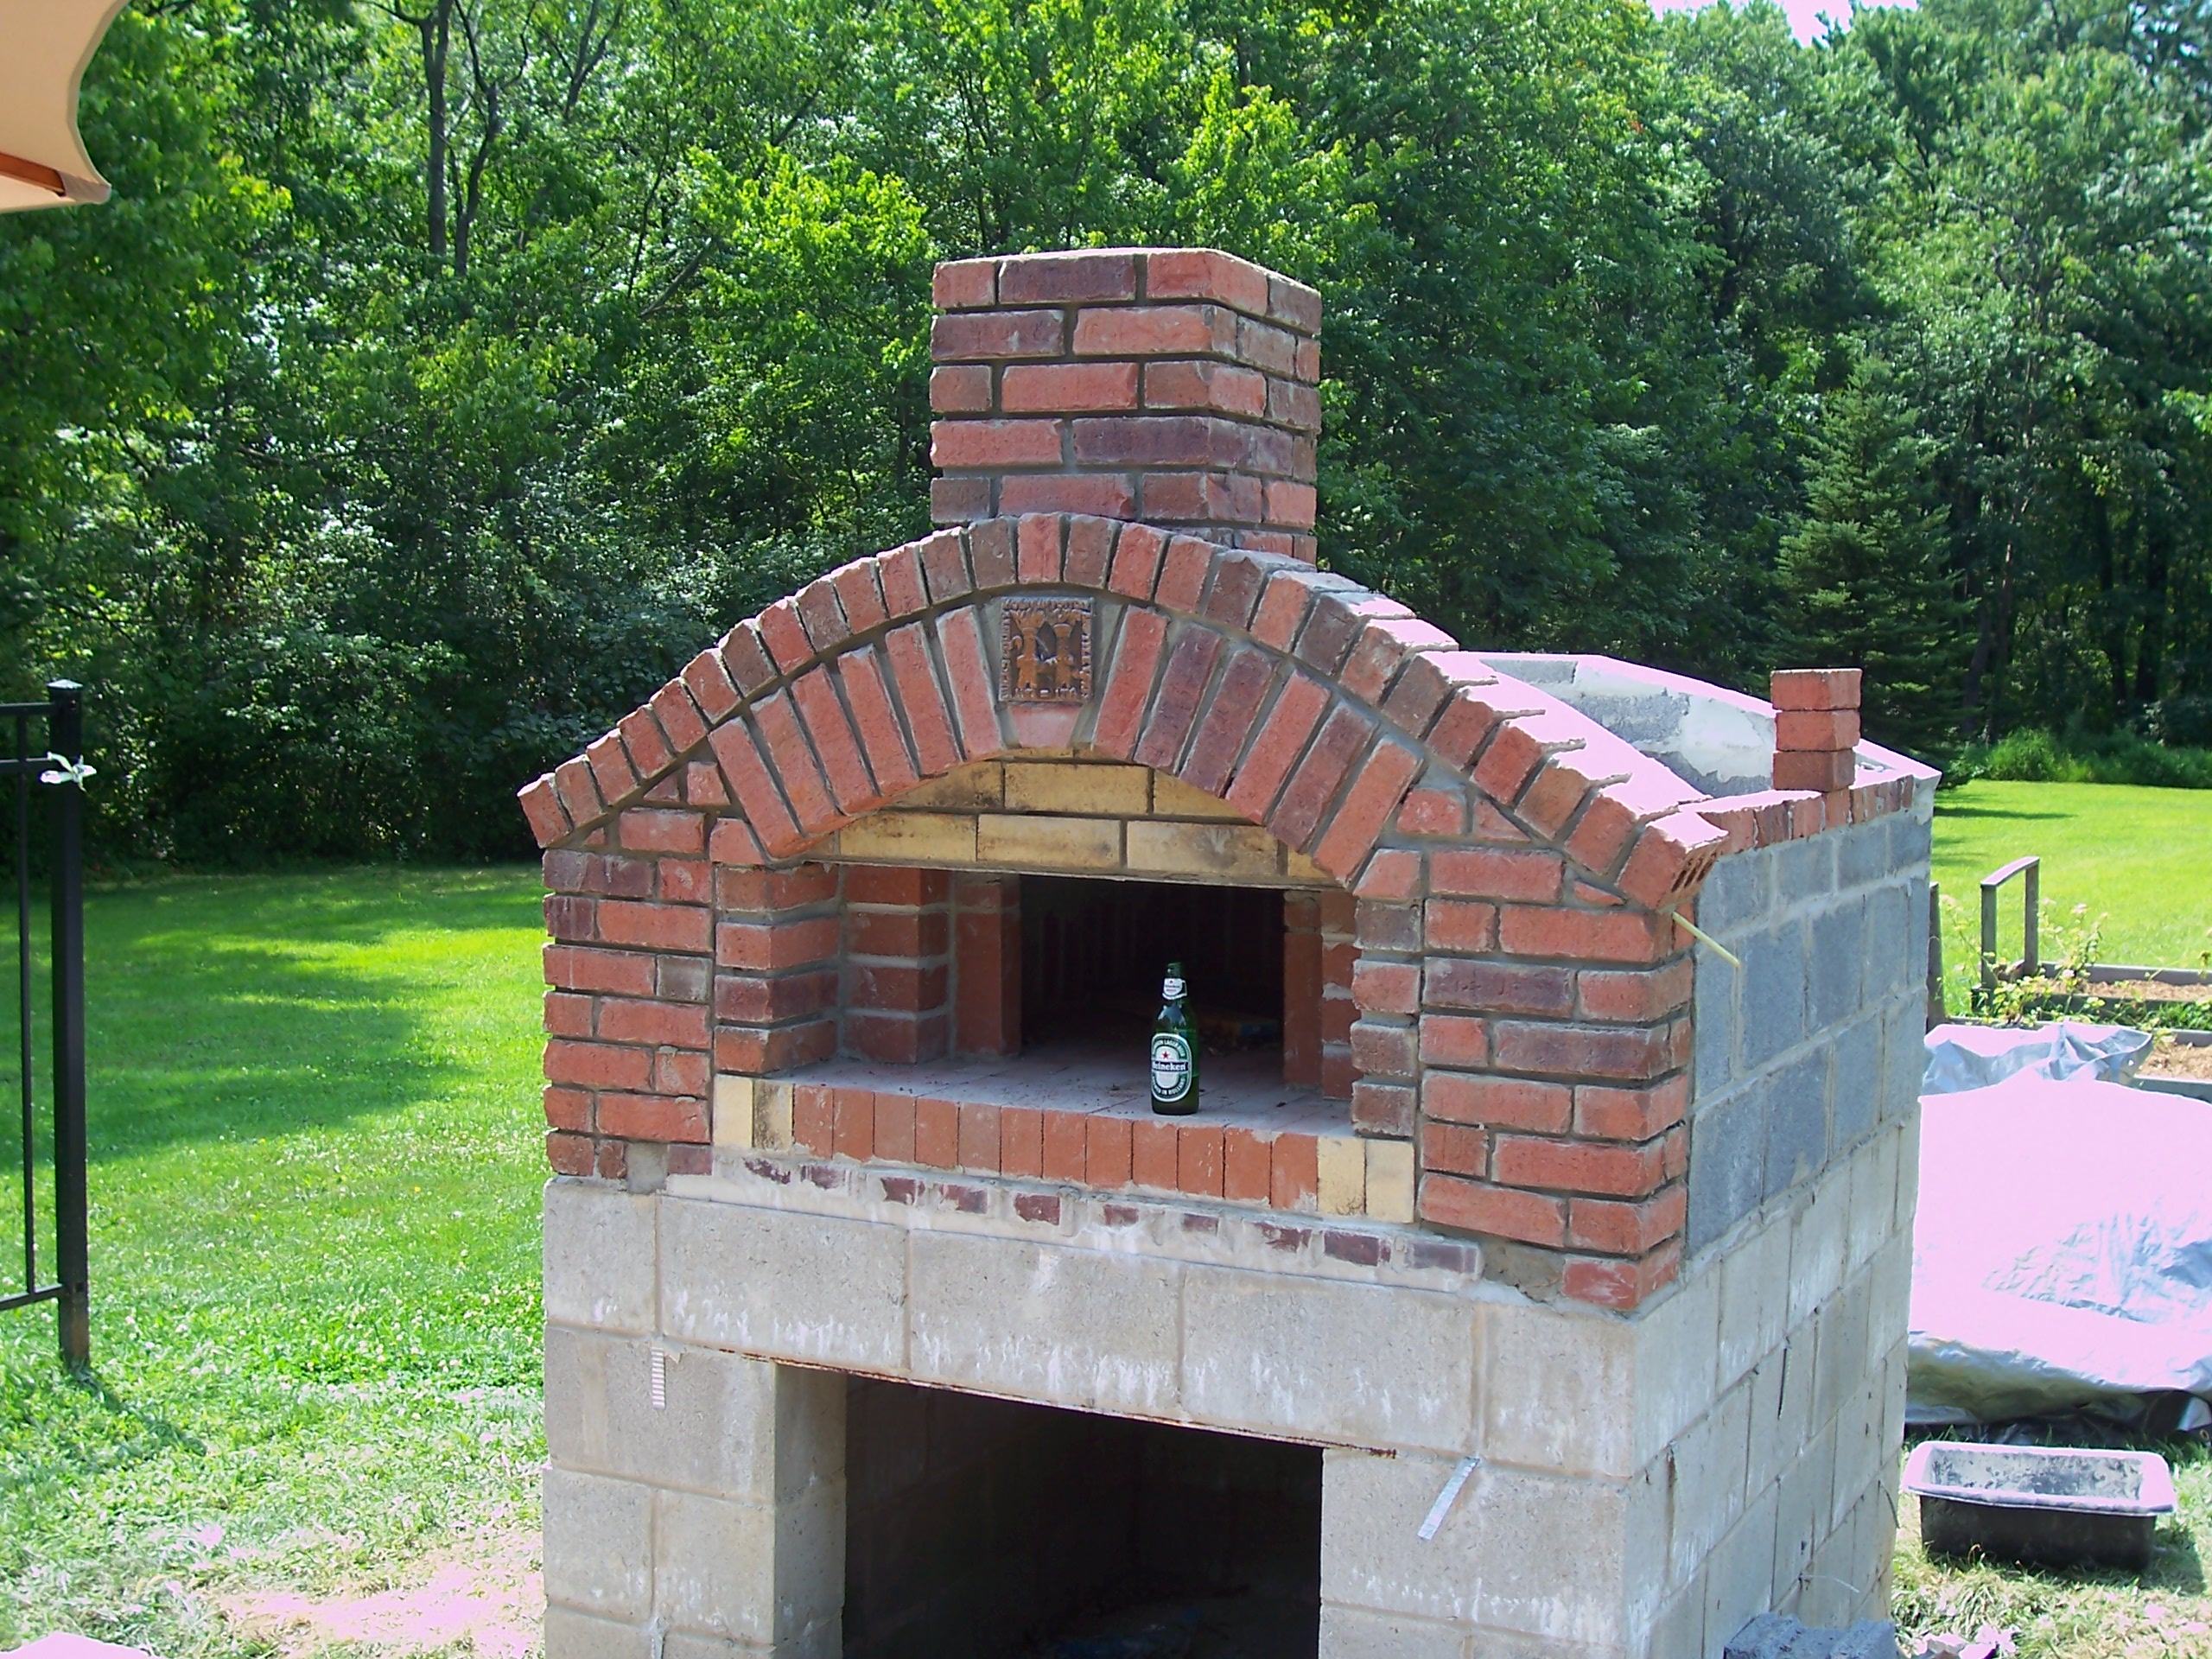
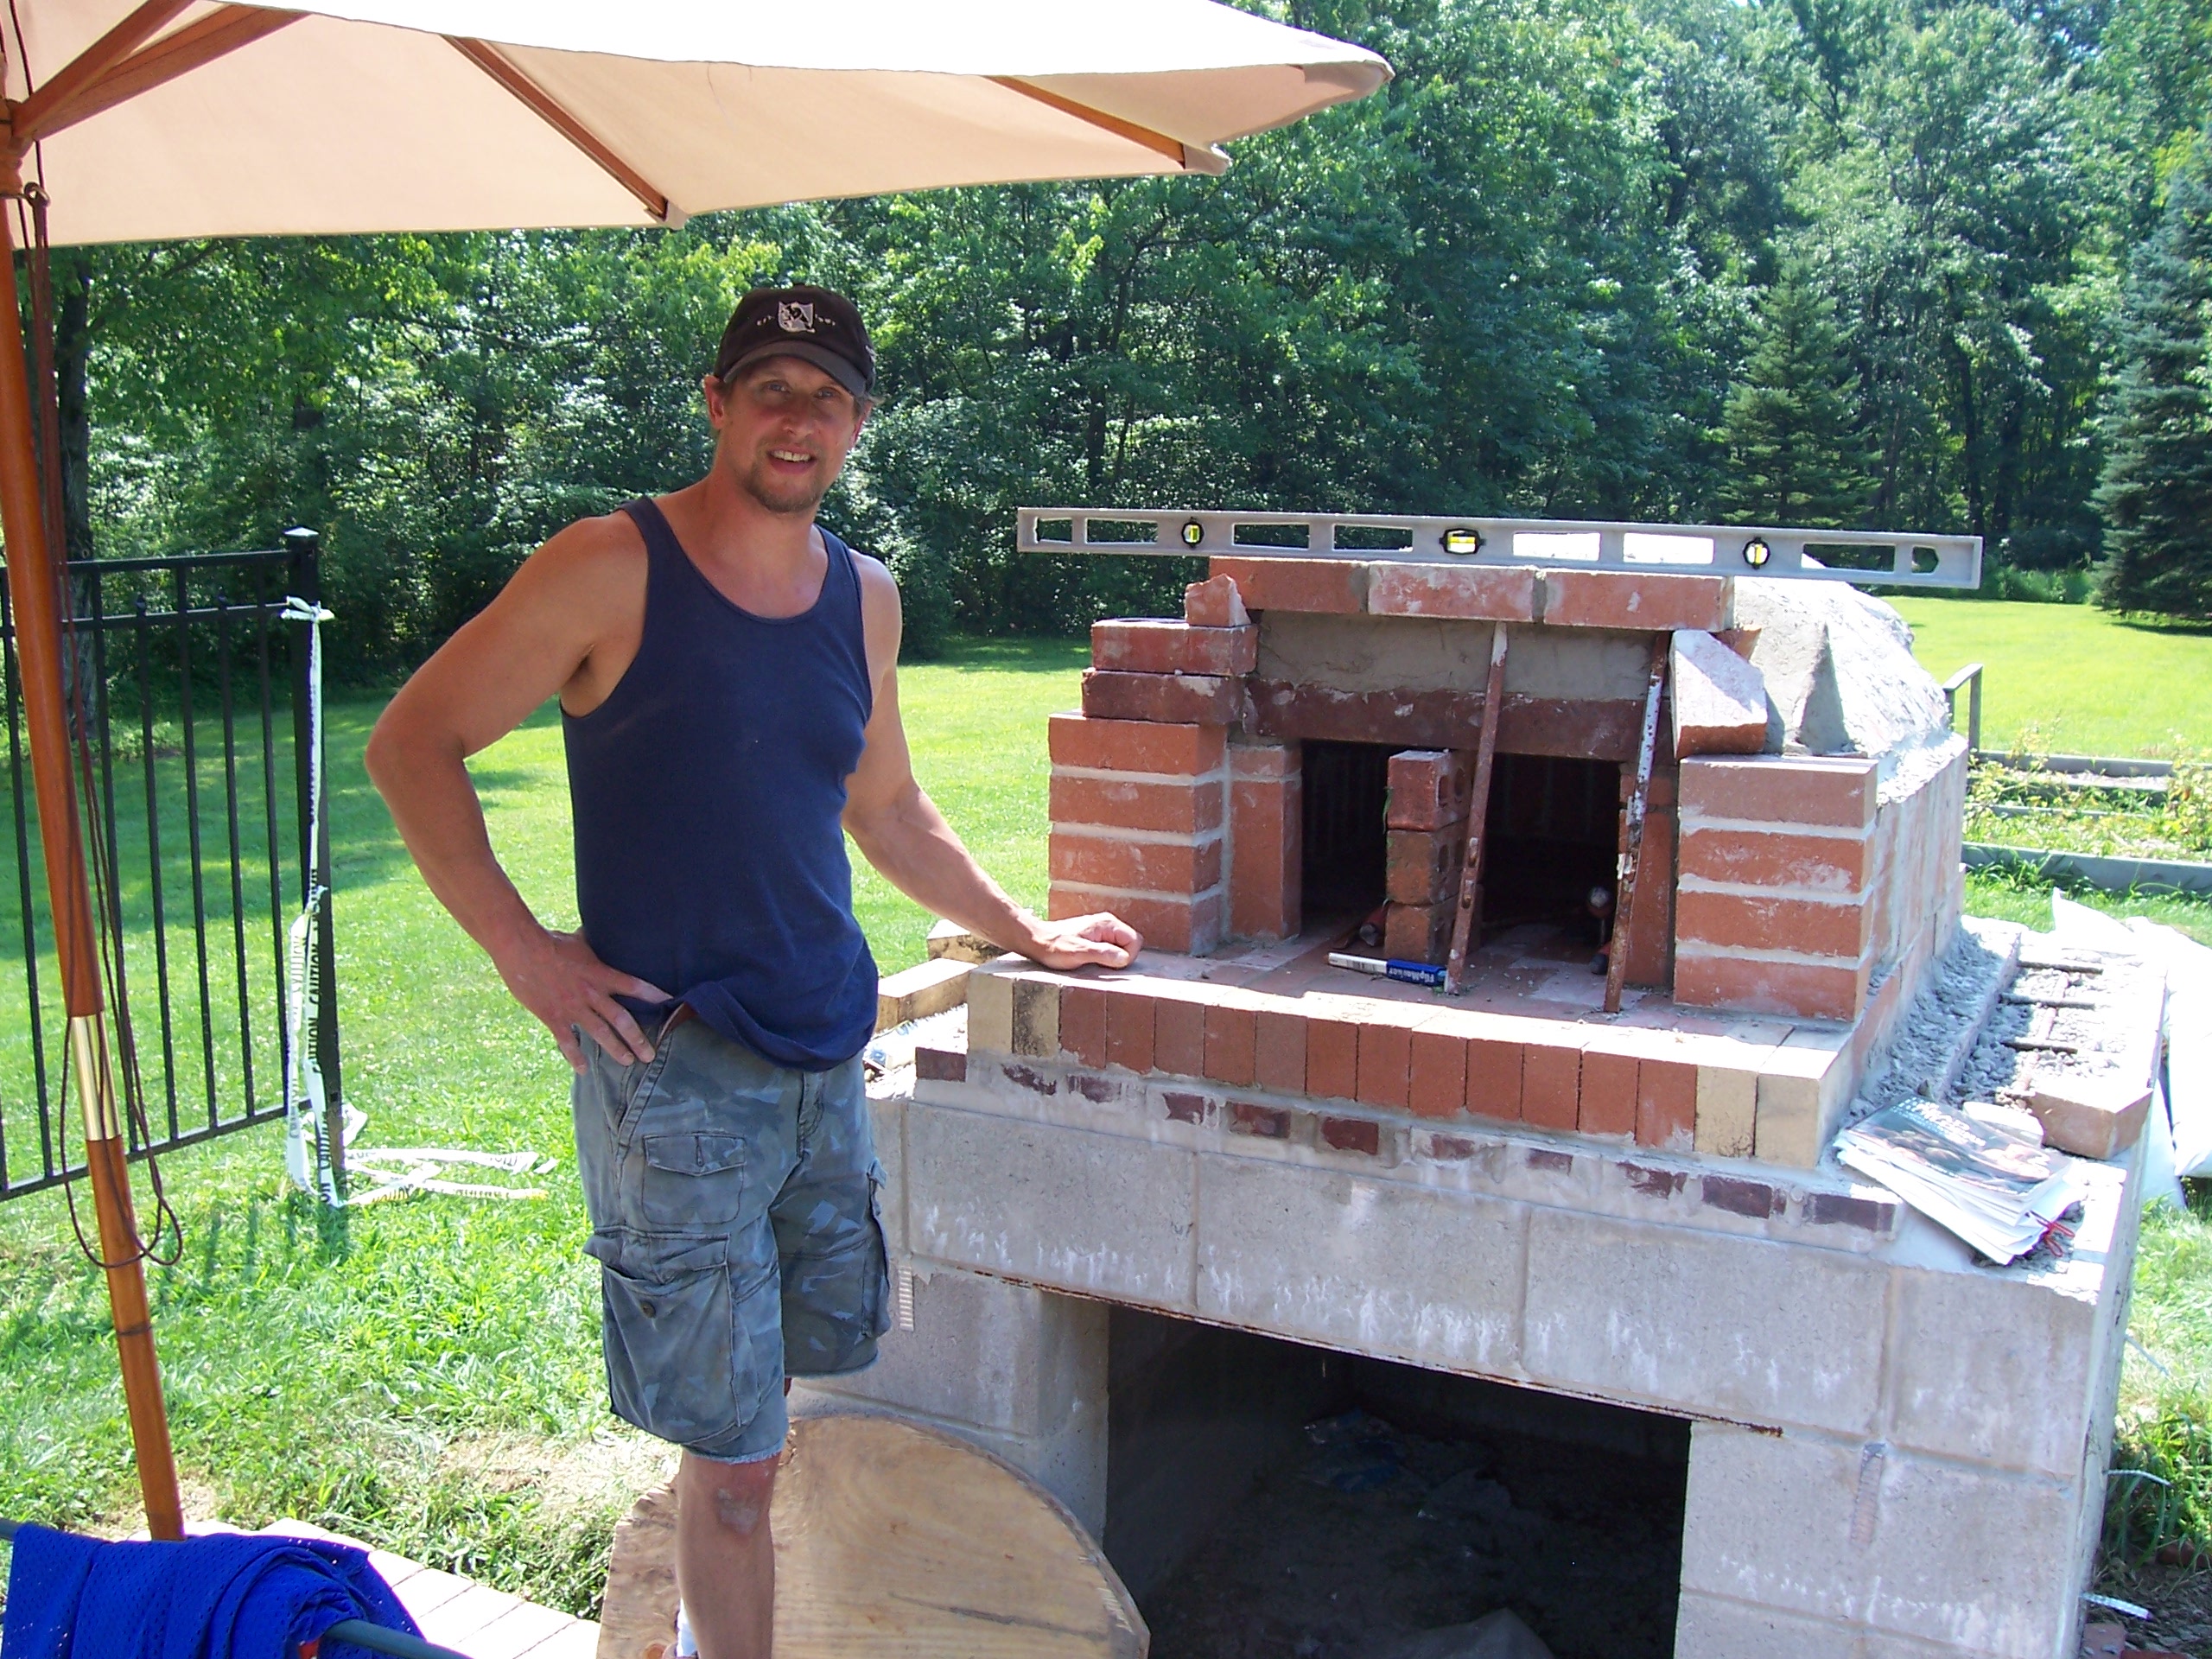
August 23rd - After about eight more hours with Jeff, the upper arch and mouth of the oven are complete.


Last Updated: 19 November, 2006
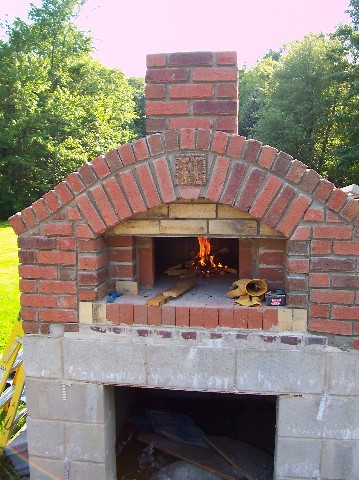
September 8th - This is a big day.
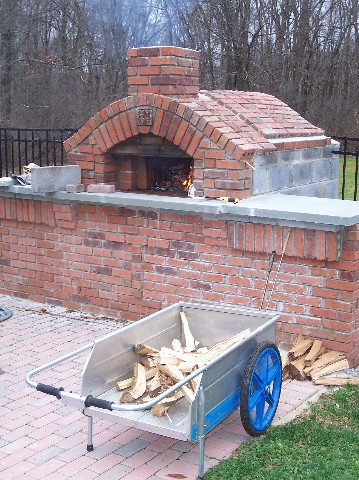
The first of a few small fires are lit to "cure" the oven. If one rushes and builds a large fire early on, the concrete becomes weak. So, over the next few days, several very small fires will be lit.
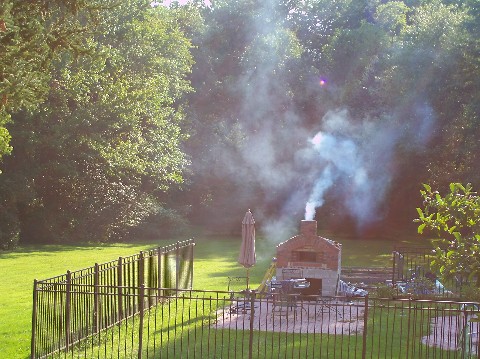
September 11th - The first all-out firing of the oven.
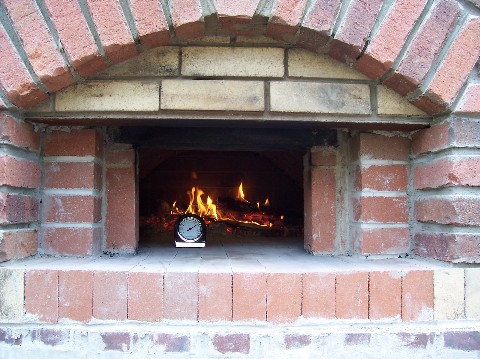
Since my fancy infrared thermometer thermometer didn't come from Amazon.com yet, I have to rely on a Home Depot oven thermometer. According to this, the oven is beyond the 550F limit of this device and reads about 450F near the door.
November 19th Update: My fancy infrared thermometer thermometer HAS arrived from Amazon.com and only ended up costing $34, the thermometer works great.
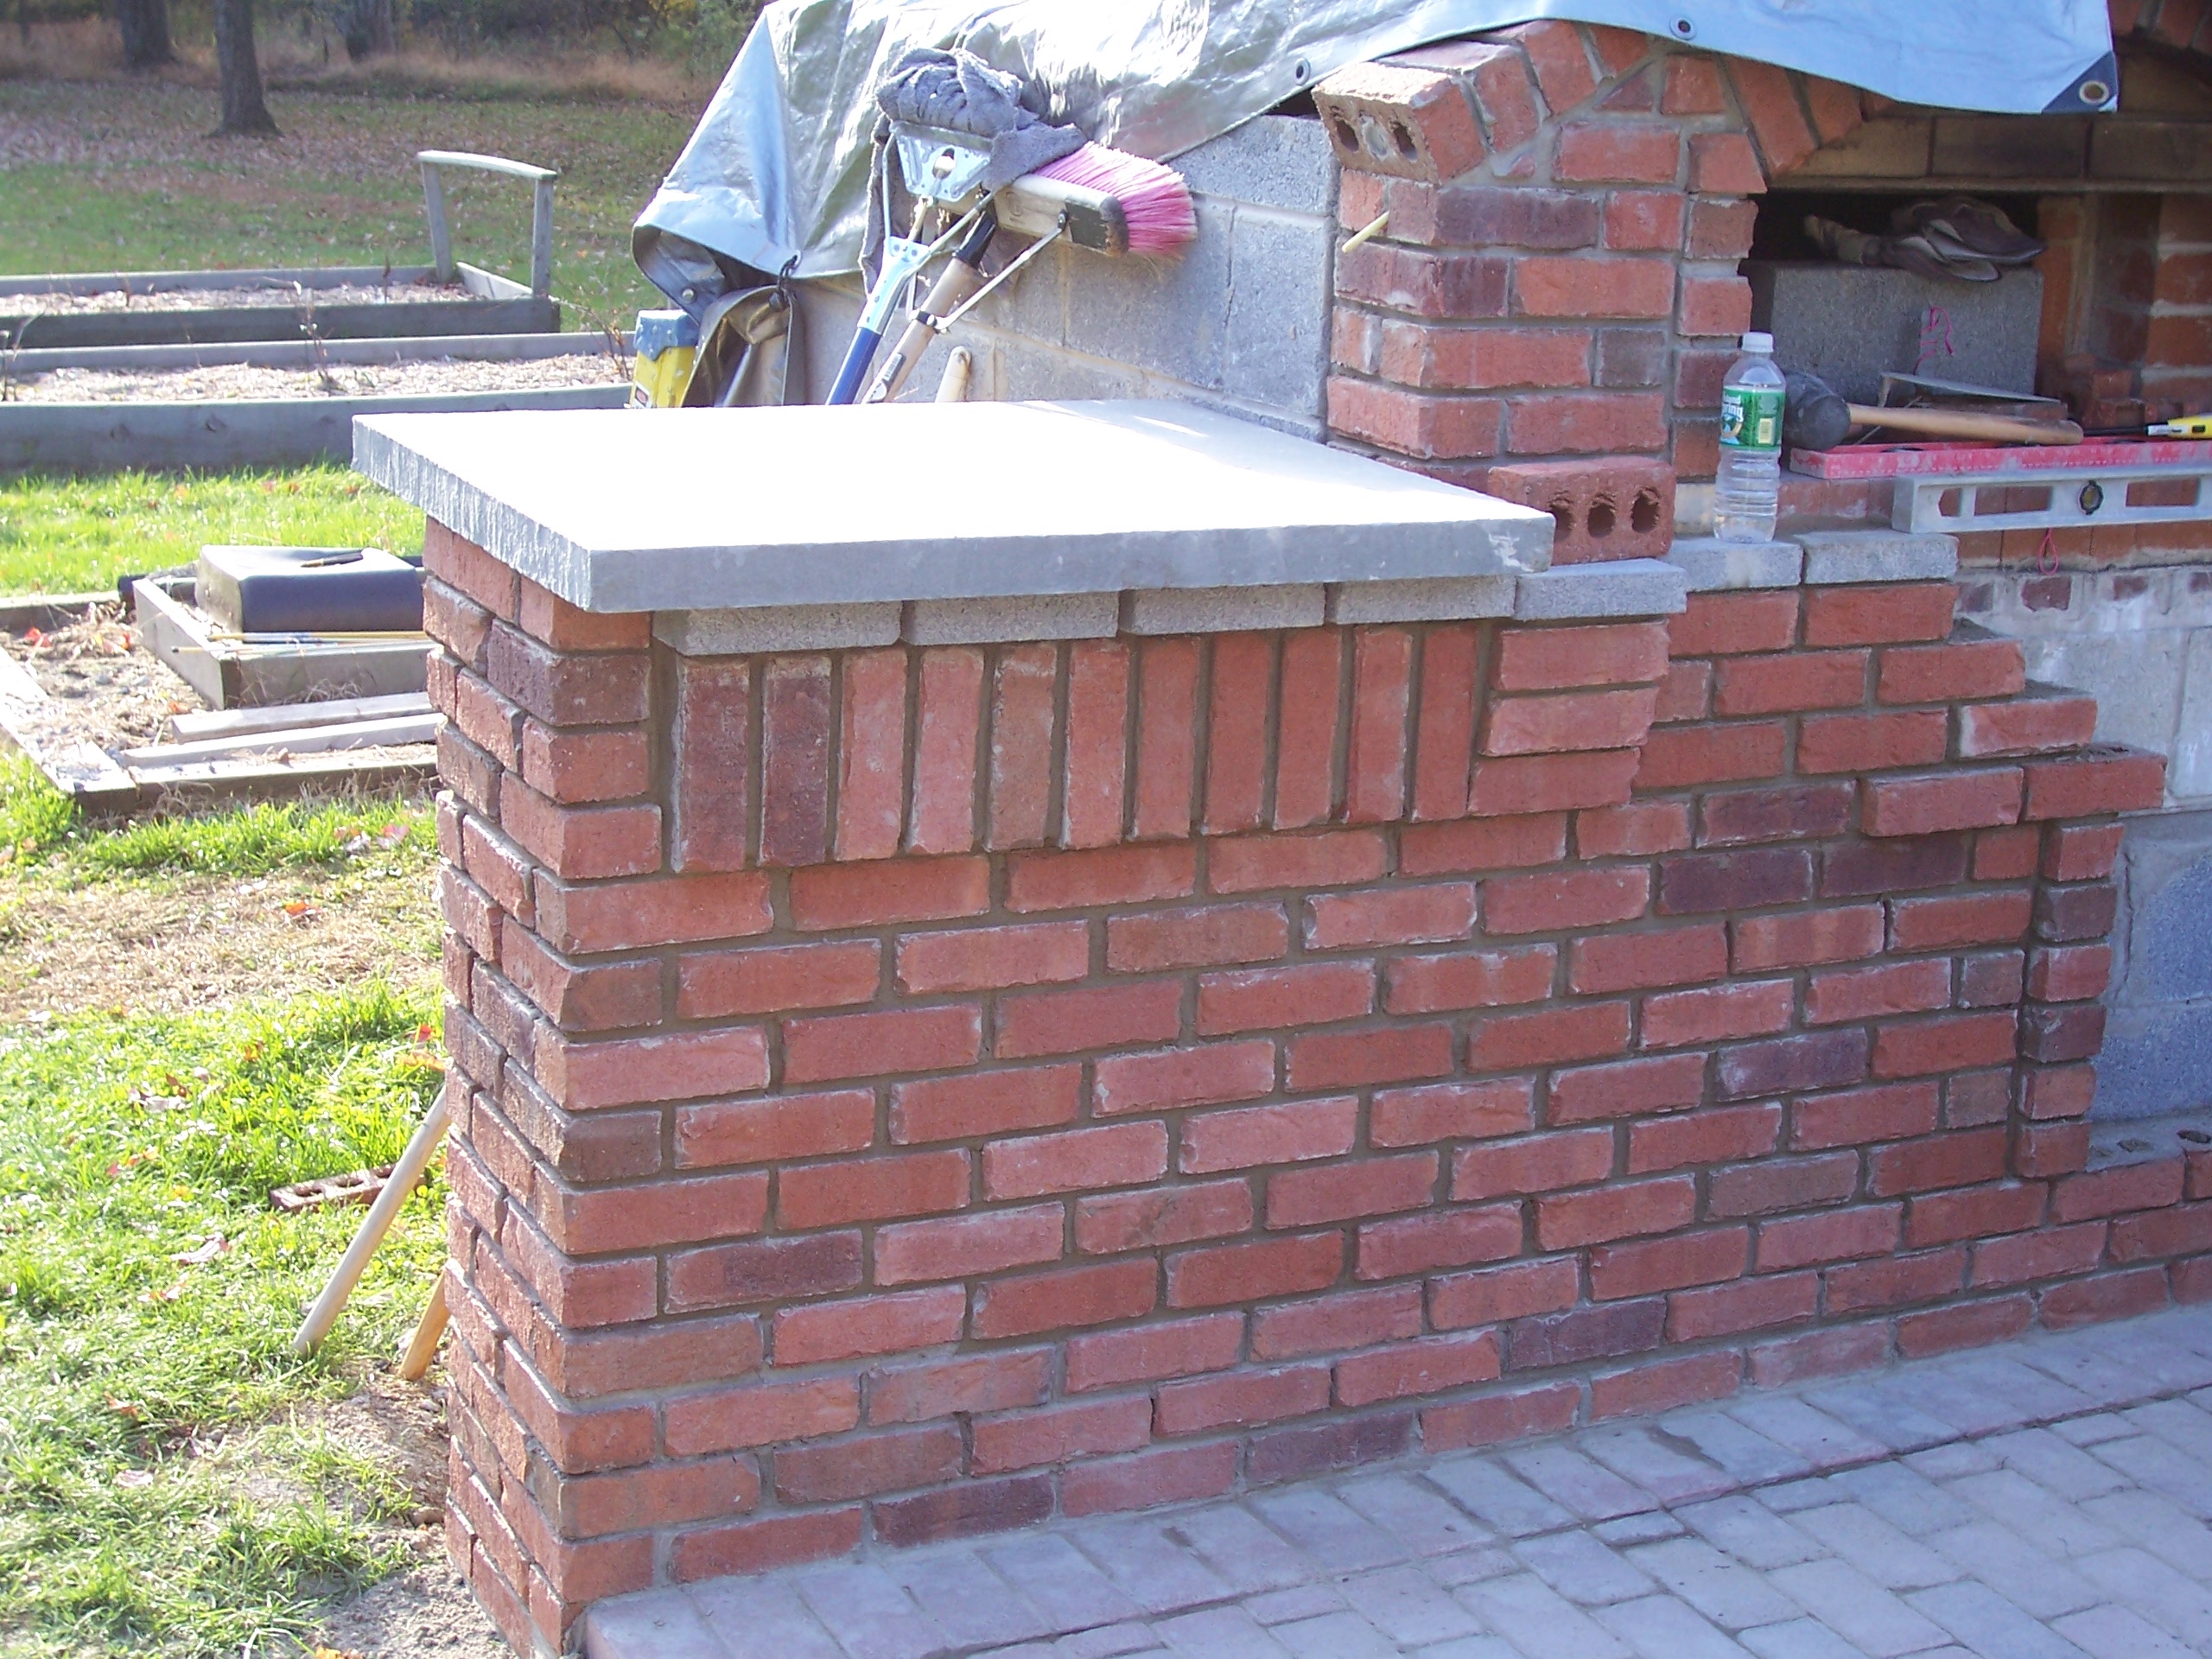
There will be a 30"X36" limestone slab on each side for use as a work table.
October 16th - The knee walls have been built and the brick facing has been started.
October 22nd: Both side tables are now installed, the front piece of bluestone is installed in front of the oven's mount and construction of the brick roof over the food cavity has begun.
October 27th: The brick roof has now been completed. There are a couple inches of vermiculite, topped by masonry diamond lathe and, of course, a brick roof.